
A leather jacket can look right on a product photo and still feel wrong when a customer puts it on. The shoulders may pull when the arms move, the sleeves may stop above the wrist, or the body may be too tight for a sweatshirt. For a private-label brand, these problems are expensive to discover after bulk production.
This custom leather jacket sizing checklist gives a practical way to confirm fit before sampling and before production approval. It covers the measurements that affect comfort, the details to put in a tech pack, and the checks a brand should complete on a physical sample.
Quick answer: what should a brand confirm before sampling?
Confirm the intended fit, the size range, and the measurement method first. Then lock the shoulder width, chest, hem, sleeve length, bicep, and jacket length. Record the measurement points on a reference garment or technical drawing, state the tolerance for each point, and test the sample with the type of layer the customer is expected to wear.
A size label by itself is not a specification. A relaxed trucker jacket, a close motorcycle jacket, and an oversized fashion jacket can all use the same nominal size while having very different measurements.
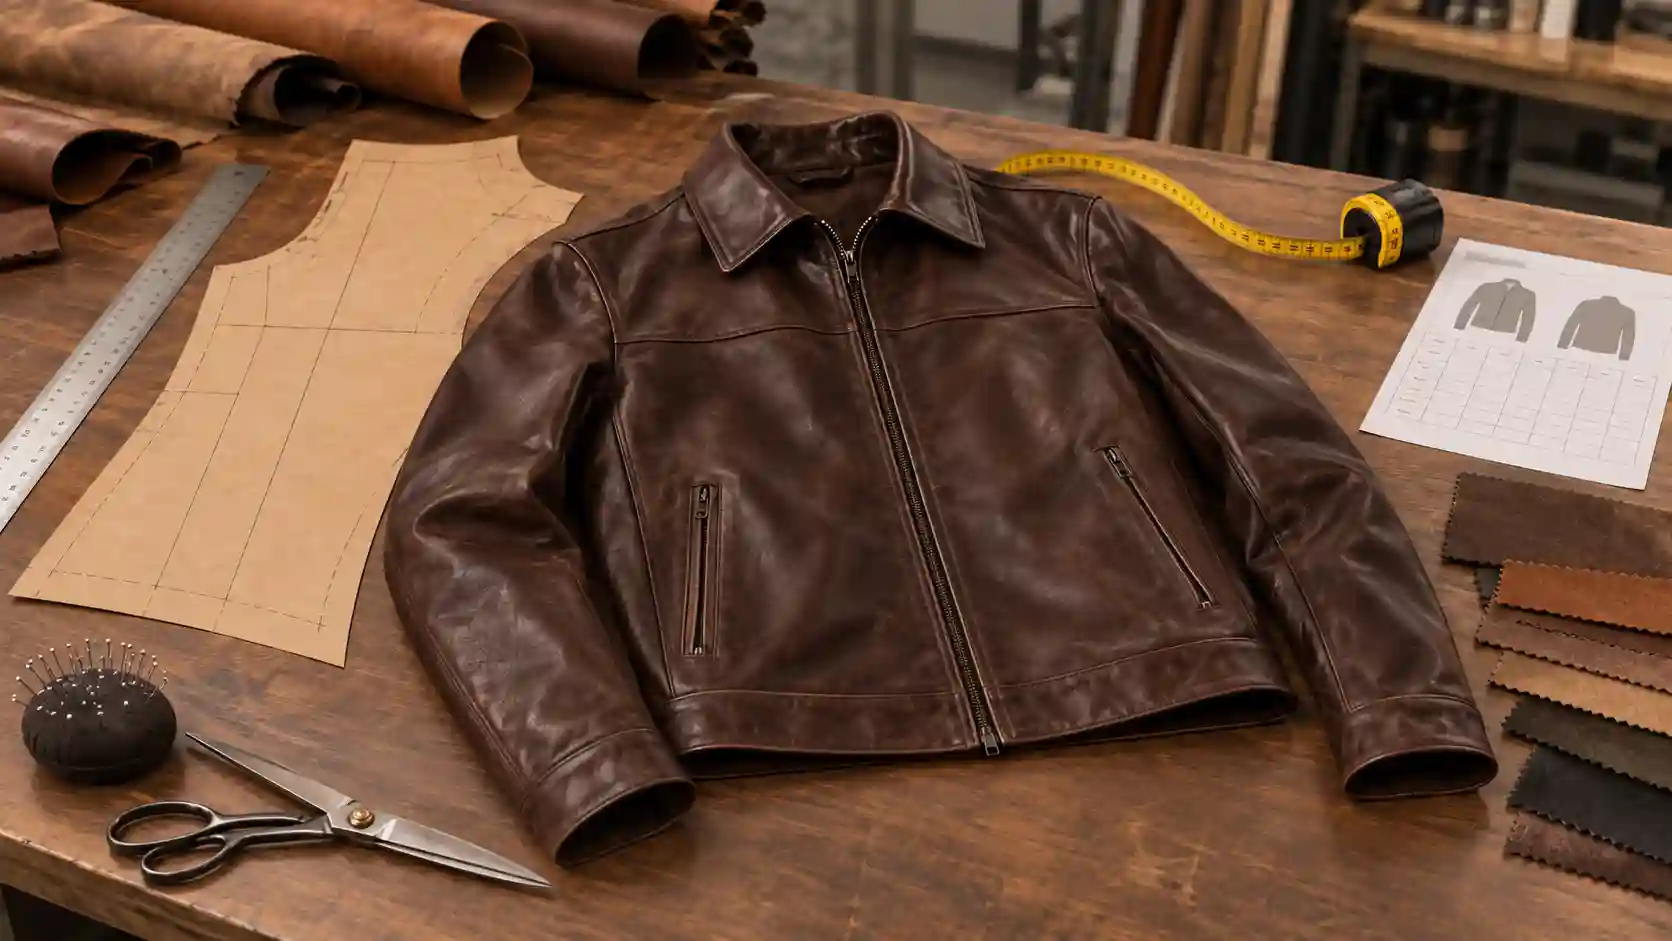
Start with the use case, not the size label
① Decide how the jacket will be worn
Write down the real use case before choosing numbers. Is the jacket for a fitted fashion look, everyday streetwear, riding, workwear, or a seasonal collection? The answer changes the amount of ease, the sleeve position, the length, and the hardware that can be used without restricting movement.
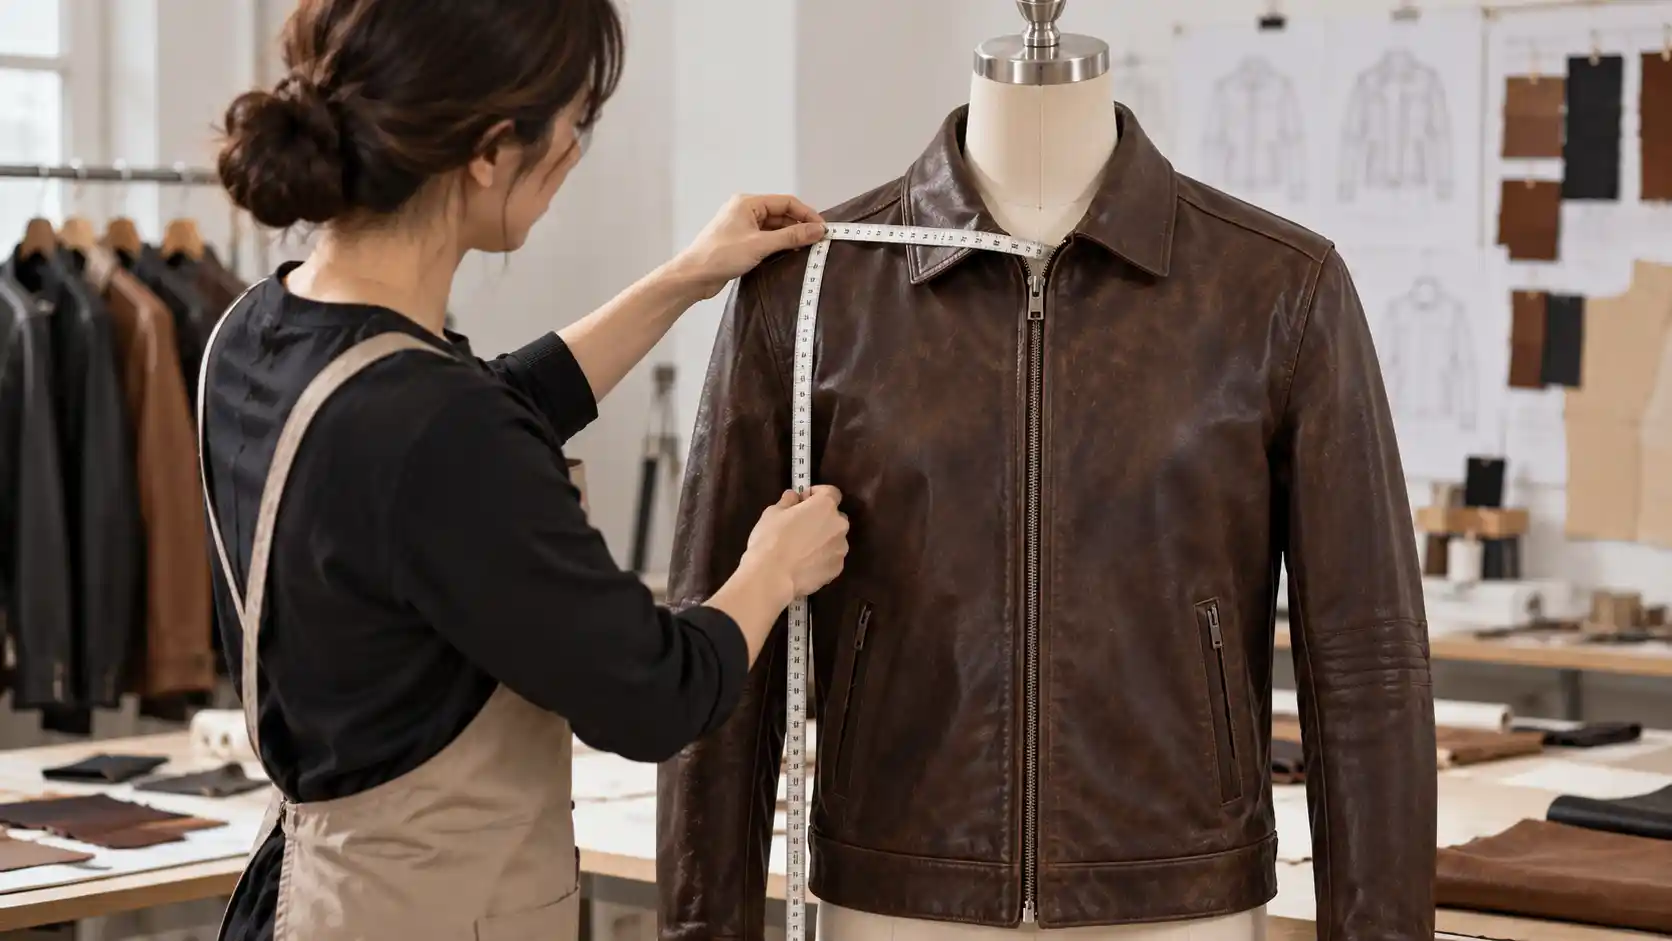
② Define the fit in plain language
Use a short fit statement in the tech pack, such as “regular fit with room for a light knit” or “close fit, designed to be worn over a T-shirt.” Add a front and back sketch and a measurement chart. This gives the pattern maker a clear target instead of leaving the decision to the size label.
③ Plan the size range early
Do not grade a single sample blindly. Decide which body measurements and garment measurements will be used for each size, and check that the grading remains balanced at the shoulders, chest, sleeve and hem. If your customers are in several markets, state the body-size conversion method rather than placing US, EU and Asian labels side by side without a measurement basis.
The five fit points that need the closest review
① Shoulders and armhole
The shoulder seam should sit close to the natural shoulder point unless the style is intentionally dropped. A seam that sits too far out makes the jacket look oversized and can create excess fabric at the upper arm. A shoulder that is too narrow pulls across the back and limits reach.
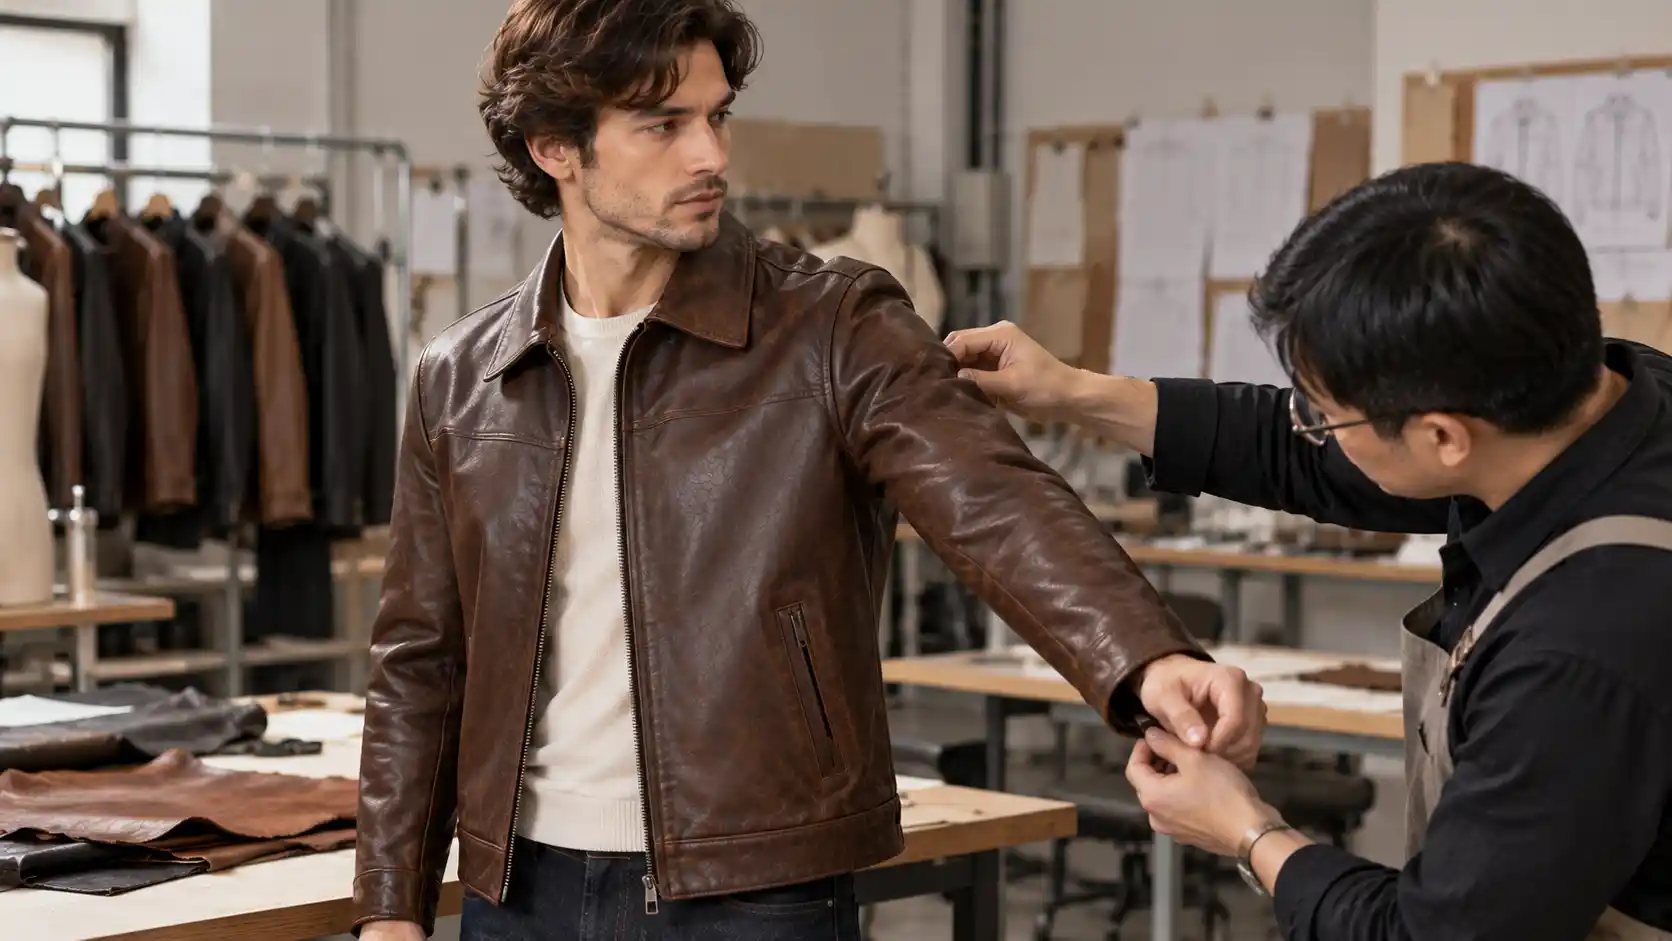
Ask the wearer to reach forward, cross the arms, and raise both arms. Watch the shoulder seam and armhole rather than judging the jacket while the arms are still. This simple test catches many problems that a flat measurement cannot show.
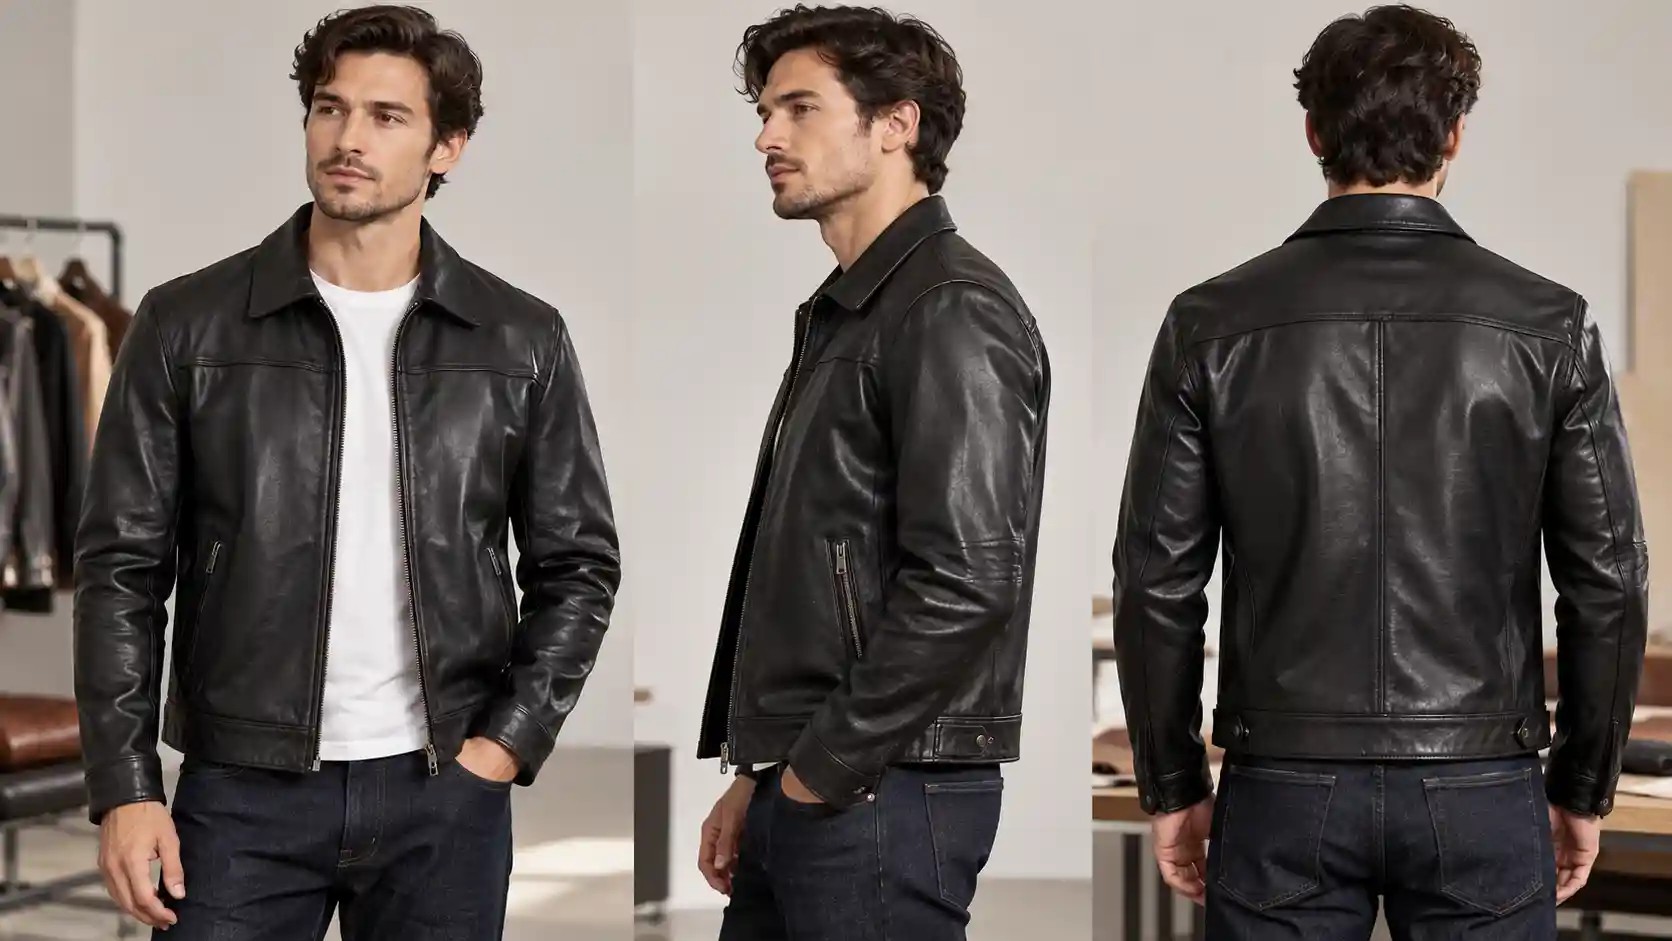
② Chest and front closure
Measure the chest with the jacket closed, then repeat the check with the intended base layer. The zipper or buttons should close without a diagonal strain line from the chest to the armhole. If the customer will wear a sweatshirt, that layer must be part of the sample test; otherwise the approved chest measurement is only a T-shirt measurement.
③ Sleeve length and cuff position
State exactly how sleeve length is measured. Common methods run from the shoulder point to the cuff or from the centre back through the shoulder to the cuff. Either method can work, but the factory and the brand must use the same one. Check the sleeve while the elbow is slightly bent and the arms are relaxed. A sleeve that is correct when standing may become short when the arm is bent.
④ Body length and hem balance
Measure from the agreed high-point shoulder or centre-back point to the finished hem. Compare the front and back lengths, especially when the jacket has a curved hem or a dropped back. A jacket for riding or layering may need more back coverage, while a cropped fashion style needs a deliberate hem position.
⑤ Bicep, cuff and movement
Measure the upper arm and cuff opening, then test movement with the jacket zipped. Leather and heavier linings do not behave like a light woven fabric. If the bicep is tight, the wearer may feel restriction even when the chest measurement appears correct. If the cuff is too narrow, a watch or knit cuff will make the problem worse.
Use a repeatable measurement method
① Measure a garment, not only a body
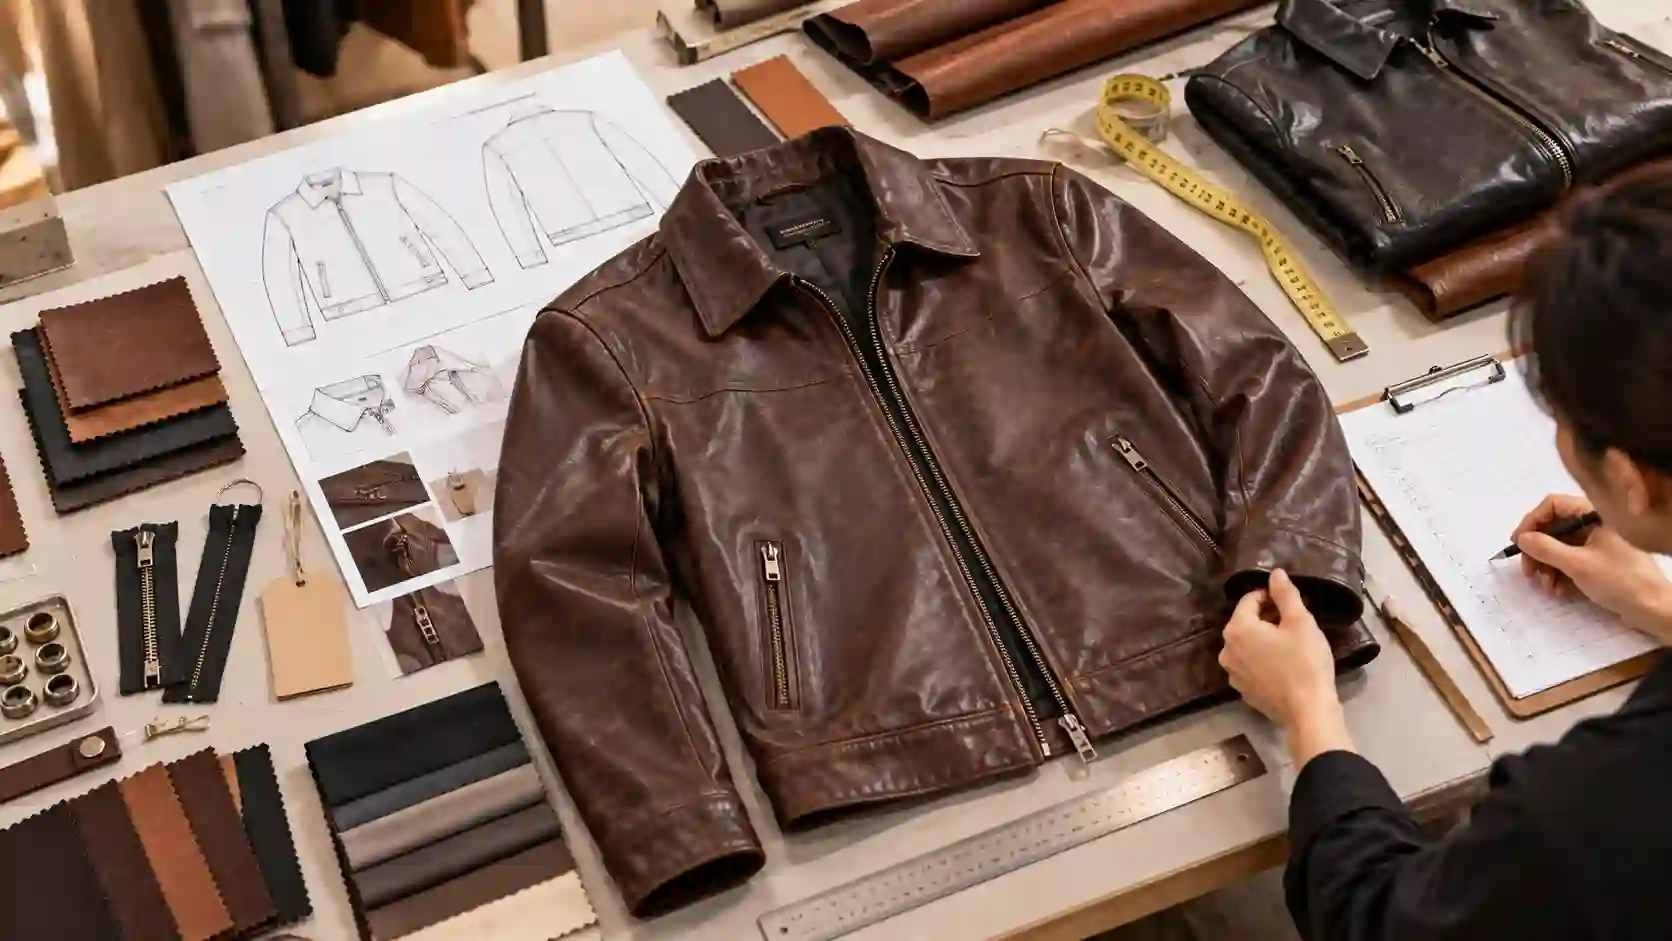
Body measurements are useful for sizing, but a factory needs garment measurements to make a pattern. If you have a jacket that fits well, send it as a reference sample and provide a flat-measurement chart. Mark the exact start and end points on a simple diagram so that a second person can repeat the measurement.
② Add tolerances instead of vague words
Terms such as “about,” “standard,” or “same as the sample” are difficult to inspect. Put a target and an acceptable tolerance beside each point of measure. The tolerance can vary by measurement and construction, but it should be agreed before the pre-production sample is approved. The same chart should be used for the sample, production inspection and final packing approval.
③ Keep one measurement table as the source of truth
Do not keep one chart in an email, another in a PDF, and a third in a spreadsheet. Version the tech pack and mark every revision. If the chest changes after fitting, update the master chart, the grading rules and the sample comments together.
Allow for leather, lining and layering
① Material changes the feel of the same measurements
Leather thickness, finish, backing and softness affect how a jacket hangs. A stiff hide can feel tighter than a softer hide at the same chest measurement. A quilted or padded lining adds bulk. Ask the supplier to confirm the proposed material and lining before you judge the final fit.
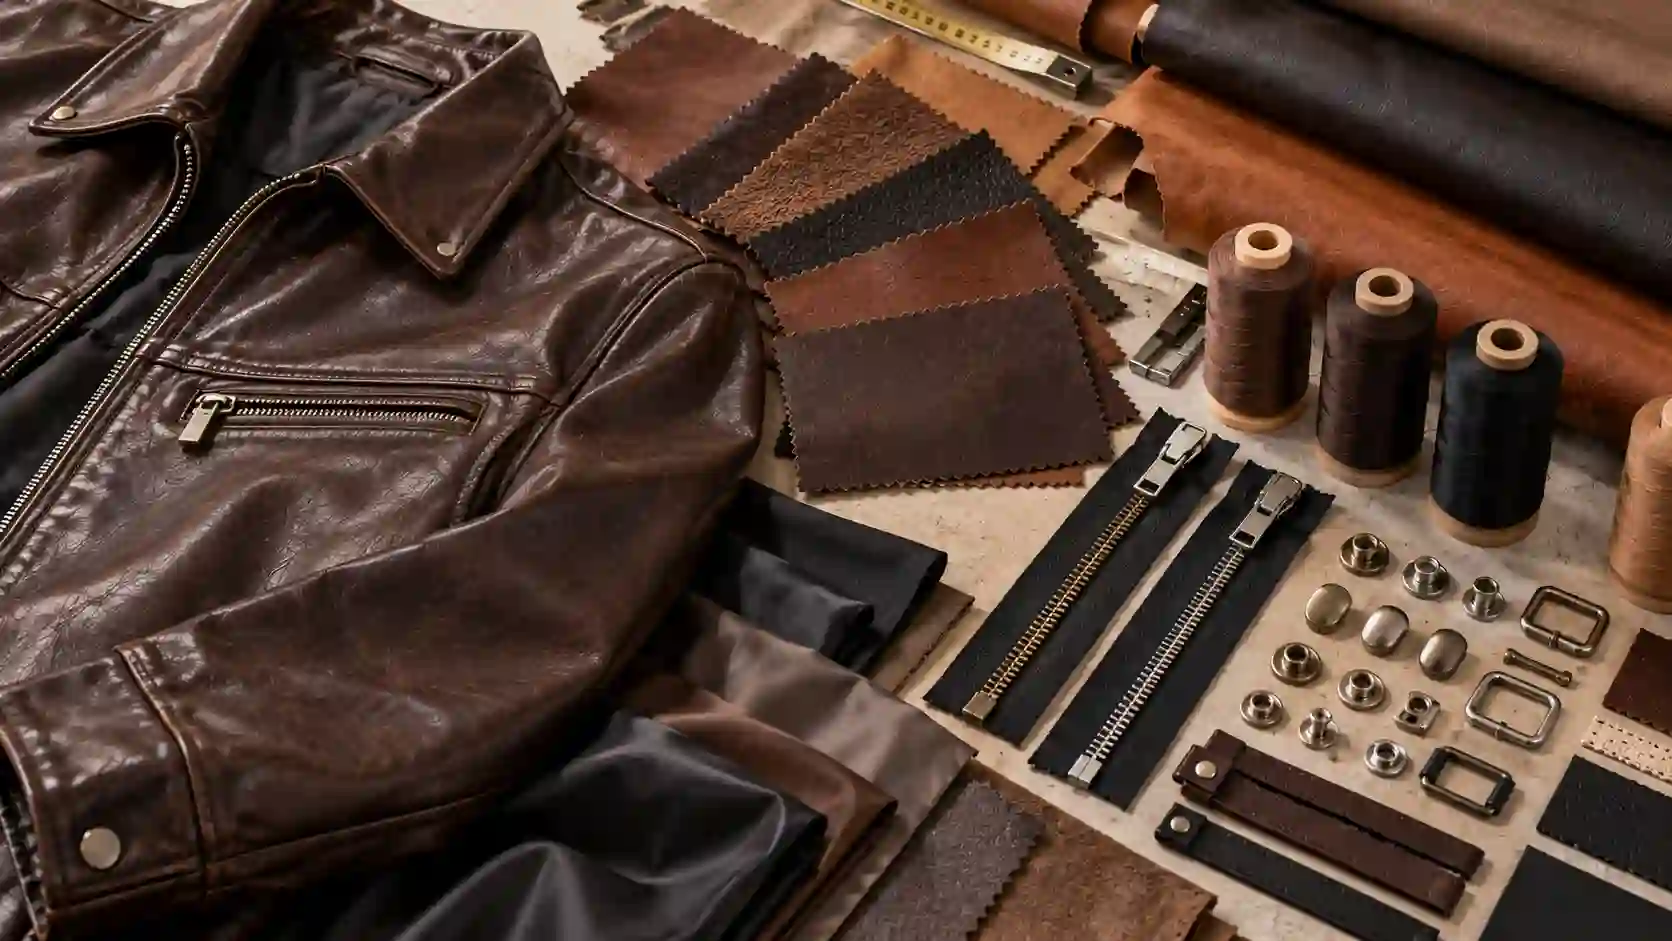
② Test the layer your customer will actually wear
For a light fashion jacket, a T-shirt may be the correct base layer. For a winter or motorcycle style, test with the planned knit, sweatshirt or protective layer. Note the layer in the sample comments. This prevents the factory from correcting the pattern for a use case the product was never meant to serve.
③ Check the zipper, hardware and lining together
Close the jacket several times and inspect the zipper tape, pocket openings, snaps and lining at the same time. Hardware placement can create a pull line even when the pattern is correct. A lining that catches at the cuff or hem can make a jacket feel smaller than its measurements suggest.
Run a sample fitting before bulk approval
① Use a short, repeatable fitting script
Photograph the sample from the front, back and both sides. Check it closed and open. Ask the wearer to stand naturally, raise the arms, reach forward, sit down and turn the torso. Record what happens at the shoulder, chest, sleeve, hem and cuff. The goal is not a fashion shoot; it is a consistent fit record that the factory can act on.
② Separate pattern issues from material issues
A sleeve that twists may come from the sleeve pattern, the armhole, the grain direction or the leather itself. A pocket that opens may be caused by placement, pocket bag size or chest ease. Describe the visible problem and the requested correction instead of writing “fit is bad.” Specific comments reduce another round of guessing.
③ Approve one sample and one measurement version
Once the fit is approved, label the sample and keep the signed measurement chart with it. Bulk production should be checked against that approved reference, not against a photograph or an older sample. If the brand changes the material, lining or hardware later, run a focused re-check because those changes can alter the fit.
Common fit problems and practical corrections
| Problem | What to check | Possible correction |
|---|---|---|
| Shoulder seam sits too far out | Shoulder width, armhole shape, intended fit | Reduce shoulder or revise the armhole; do not simply shorten the sleeve |
| Diagonal pull across the chest | Chest ease, front balance, closure position | Add controlled chest ease or adjust front pattern balance |
| Sleeves feel short when moving | Sleeve method, elbow bend, armhole depth | Review sleeve length and articulation together |
| Jacket feels tight with a sweatshirt | Layering plan, lining bulk, bicep | Set the intended base layer and revise chest/bicep ease |
| Hem rides up at the back | Back length, posture, curved hem | Add back coverage or correct front/back balance |
What to include in the leather jacket tech pack
A useful tech pack should let a different person understand the product without a meeting. Include:
- front, back and detail sketches with callouts;
- finished garment measurements for every size;
- point-of-measure diagrams and agreed tolerances;
- material, thickness or weight requirements and the approved swatch;
- lining, interlining, zipper, snap, thread and hardware specifications;
- logo, label, hangtag and packaging instructions;
- sample comments, revision numbers and approval sign-off;
- the base layer and movement tests used during fitting.
If you are still developing the product, our custom leather motorcycle jacket OEM page shows the types of material, branding and construction decisions that can be confirmed during development. For a broader inspection sequence, see the leather jacket quality control checklist. You can also review the Outerwear & Jackets collection or send the brief through our custom OEM quote page.
Final approval checklist
Before approving a leather jacket for bulk production, confirm these points in writing:
- The intended fit and base layer are stated.
- Shoulder, chest, sleeve, bicep, cuff and body length measurements are defined.
- The measurement method and tolerances are agreed.
- The approved leather, lining and hardware match the sample.
- The sample closes without strain and allows the required movement.
- Front, back and side fitting photos are stored with the comments.
- The size grading has been checked, not copied without review.
- The final tech pack version and approval sample are identified.
Frequently asked questions
Should a brand send a reference jacket to the factory?
When possible, yes. A reference jacket helps communicate the intended balance and hand feel, but it should support rather than replace a measurement chart. Measure the reference garment and document any changes you want.
How much ease should a leather jacket have?
There is no single number that works for every style. Ease depends on the silhouette, leather, lining and layer underneath. Define the use case first, then confirm the result on a sample with the intended layer.
Should sleeve length be measured from the shoulder or centre back?
Either method can be used if it is clearly documented and applied consistently. Put the method on the point-of-measure diagram so the factory and the inspection team do not compare different measurements.
What if the material changes after the sample is approved?
Repeat the fit checks that can be affected by the change, especially chest, sleeve, cuff, hem and closure. A different thickness, backing or lining can change the way the same pattern feels.
Final Takeaway
A reliable custom leather jacket sizing checklist is less about finding a universal “correct” size and more about removing ambiguity. Define how the jacket will be worn, document the points of measure, test the actual layer, and approve one clear sample and tech-pack version before bulk production. That process gives the factory something measurable to build and gives the brand a defensible reason for approving the fit.
Discuss Your Apparel Sourcing Requirements
Whether you're launching a startup clothing brand, expanding a streetwear label, or looking for a reliable OEM apparel manufacturer, speaking directly with an experienced production team can help you avoid costly sourcing mistakes.
Talk With Our Manufacturing Team